Creating Chapters
Chapters are a great way to add organization and chunking of content to your videos. Viewers can use the chapter menu to preview what is ahead as well as to return to specific parts of the video upon review. Chapter markers are added automatically to match slides when using Kaltura Capture, but they can be added manually using the Chapters function on the Timeline.
To add chapters to a video:
- Login to MediaSpace or Blackboard/Kaltura My Media
- Locate the media that has captions you want to modify, click the title to open it's media page.
- Click Actions and Edit
- On the Timeline tab, position the play head at the location for which you would like to insert a chapter marker and click the chapter (bookmark) icon. This will insert a chapter and open the Chapter editing panel.
- An auto thumbnail is created (or upload your own), create a title and a description if desired and click Save.
- Repeat for all desired chapters.
- Once you have finished creating chapters, click the Details tab, Save, and Go to Media.
- Chapters are displayed by opening the chapter panel in the upper left corner of a video.
Learn More
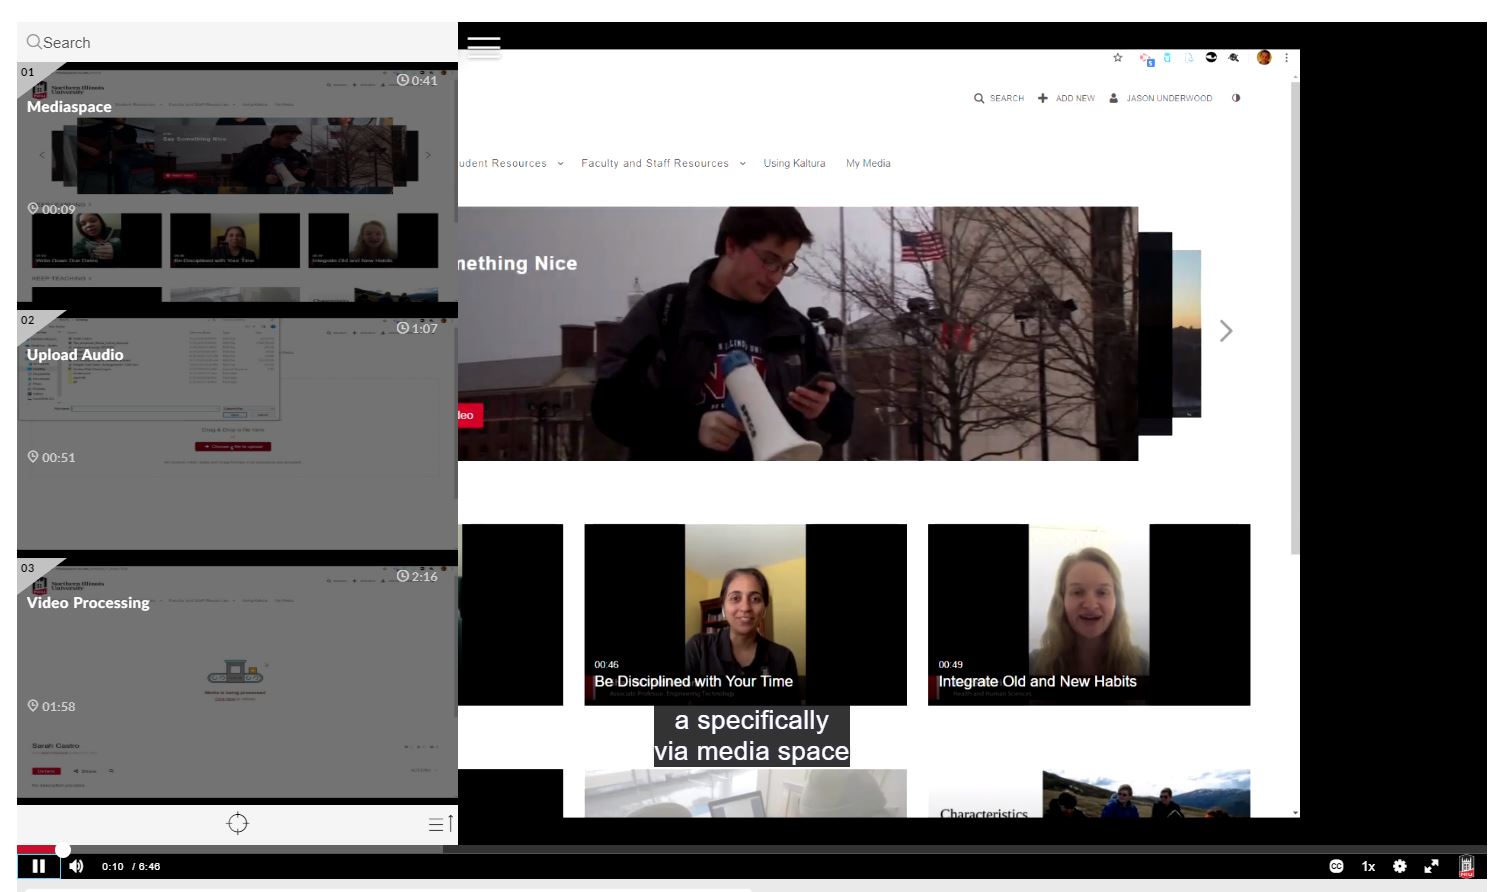
See the video below "How to add Chapters and Slides Using the Timeline Tab" for a detailed walkthrough of this process.